How to Patch Up a Hole near the Back Pocket: A DIY Guide
Many of us have been there – we’re wearing our favorite pair of jeans, enjoying a day out, when suddenly, disaster strikes. A small hole appears near the back pocket, leaving us with a ripped and frazzled feeling. But fear not, dear reader! With a few simple steps, you can patch up that pesky hole and extend the life of your beloved jeans. In this article, we’ll show you how to do just that.
Gather Your Supplies
Before we dive into the steps, make sure you have the following supplies:
- Fabric patch (you can use a piece of old denim or a specialized patching fabric)
- Scissors
- Needle
- Thread (matching the color of your jeans as closely as possible)
- Sewing awl or a sharp object (like a tapestry needle or a sewing needle)
- Fabric glue (optional)
Step 1: Prepare the Area
Start by turning your jeans inside out. This will make it easier to see the hole and the surrounding fabric. Use a pair of tweezers to carefully pull out any loose threads or debris from the hole.
Step 2: Thread Your Needle
Cut a piece of thread about 18-20 inches long. Thread the needle and tie a knot at the end to prevent the thread from coming loose.
Step 3: Weave the Patch
Place the fabric patch over the hole, aligning it with the surrounding fabric. Use the needle and thread to weave the patch in place. Start by bringing the needle up through the fabric from the underside of the patch, just above the hole. Then, bring the needle back down through the fabric, about 1/8 inch away, creating a small stitch. Continue this process, moving around the patch in a circular motion, making sure to secure the patch in place.
Step 4: Reinforce the Stitches
Once you’ve completed the initial weave, use the needle and thread to reinforce the stitches. Go back and forth several times, making sure the stitches are secure and evenly spaced.
Step 5: Trim Excess Thread
Use scissors to trim the excess thread, leaving a small tail. Tie another knot to secure the thread and prevent it from coming loose.
Step 6: Add a Topstitch (Optional)
If you want to add an extra layer of protection and a stylish touch, you can add a topstitch around the patch. Use a contrasting thread color and sew a narrow, decorative stitch along the edge of the patch.
Step 7: Wash and Dry
Wash and dry your jeans as you normally would. The patch should now be secure and protected from further fraying.
Tips and Variations
- Use a matching thread color to make the patch less noticeable.
- Apply fabric glue to the back of the patch before sewing to help it stick in place.
- If the hole is particularly large or in a sensitive area (like the seat), consider using a reinforced patch or seeking the help of a professional tailor.
- Don’t forget to inspect your jeans regularly to catch any small tears or snags before they become full-blown holes.
By following these simple steps, you can patch up that pesky hole near the back pocket and extend the life of your favorite jeans. Remember to be patient, take your time, and don’t be afraid to seek help if you need it. Happy mending!
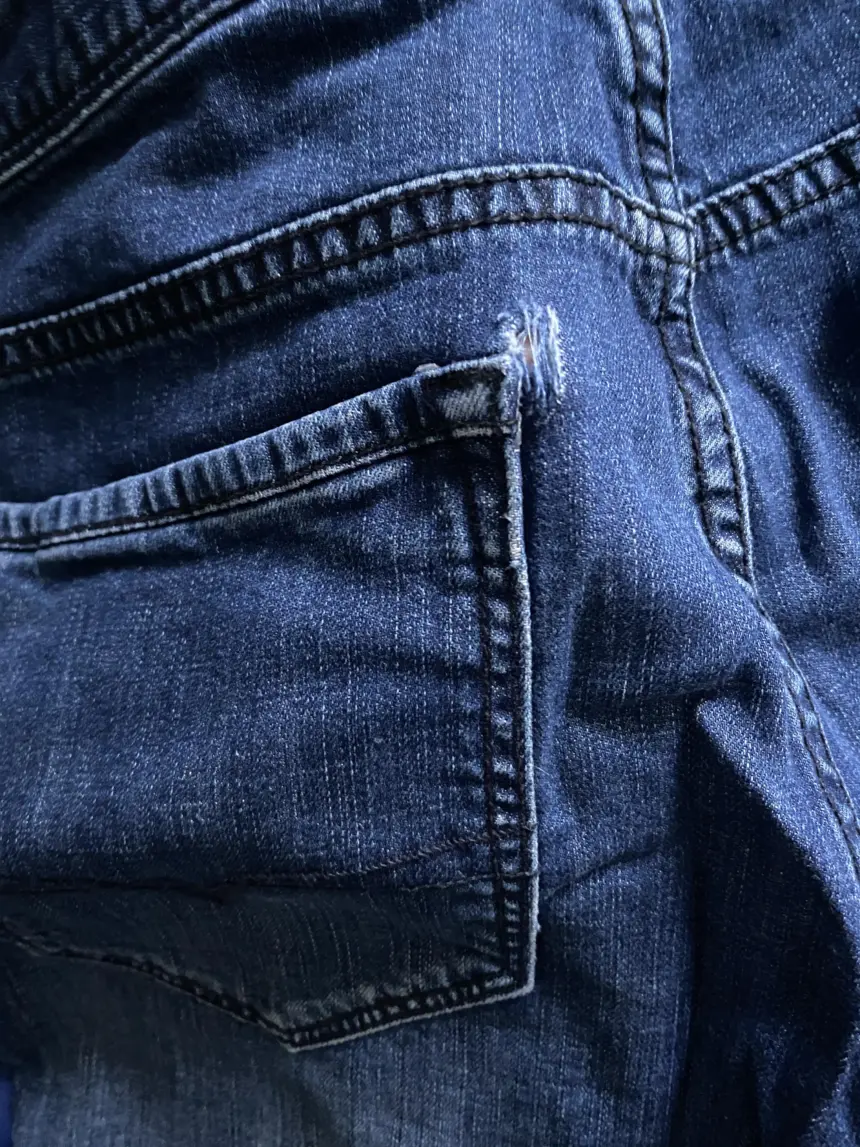
I’m very much a beginner to sewing, how can i fix these jeans before the hole gets worse?